We often work on projects that intersect two technologies near and dear to us: FileMaker and Ruby. This allows us to build robust web applications in Ruby on Rails, integrated with data sources from FileMaker solutions. When Claris introduced the FileMaker Data API we were naturally curious to try it out. At the time there was no off-the-shelf Ruby library for us to simply gem install, so we decided to roll up our sleeves and build one. Thus, fmrest-ruby was born.
This article will walk you through setting up and using fmrest-ruby in a Ruby on Rails project. Some level of familiarity with Ruby/Rails and FileMaker’s Data API is advised, although much of the content covered here is applicable to any Ruby project, Rails or not.
Installation and Setup
Without further ado, let’s start with setting up fmrest-ruby on our Rails project. Simply add fmrest to your Gemfile:
Once we have fmrest-ruby installed we’ll want a place to configure it, so we’ll create config/initializers/fmrest.rb:
Since this is a Rails project, which uses ActiveRecord by default, we take advantage of that and use the ActiveRecord token store. The token store is where fmrest-ruby will keep our Data API session tokens. If we weren’t using ActiveRecord we could choose a different back-end for our token store, like Redis or Moneta.
Next, we’ll need a place where to put our Data API connection settings: host, database, credentials, etc. Assuming we’ll only be connecting to a single FileMaker database, the easiest place for our settings is in config/filemaker.yml:
For real-world applications it’s recommended that you use encrypted credentials through Rails’ config/credentials.yml.enc, but for this example, the above should be enough.
There are many other connection options we can set here, but these are the barebone requirements to connect to our database. We leave logging turned on for development, but you may want to turn it off in production as it can be quite chatty.
This YAML file will not be loaded on its own though, so we’ll have to add the following to our initializer from earlier:
By now we are done with the setup, and we can start writing model classes connecting to our FileMaker layouts.
A good practice is to create a base model class that all our subsequent model classes will inherit from, so you can easily add common functionality. Rails does this for you already when you use ActiveRecord by providing an ApplicationRecord class. We can recreate that, except using fmrest-ruby:
I use ApplicationFmLayout here, but you’re free to choose any name you like. And of course, this step is entirely optional, you’re free to skip it and inherit your models from FmRest::Layout directly instead.
Cue Your FileMaker Database
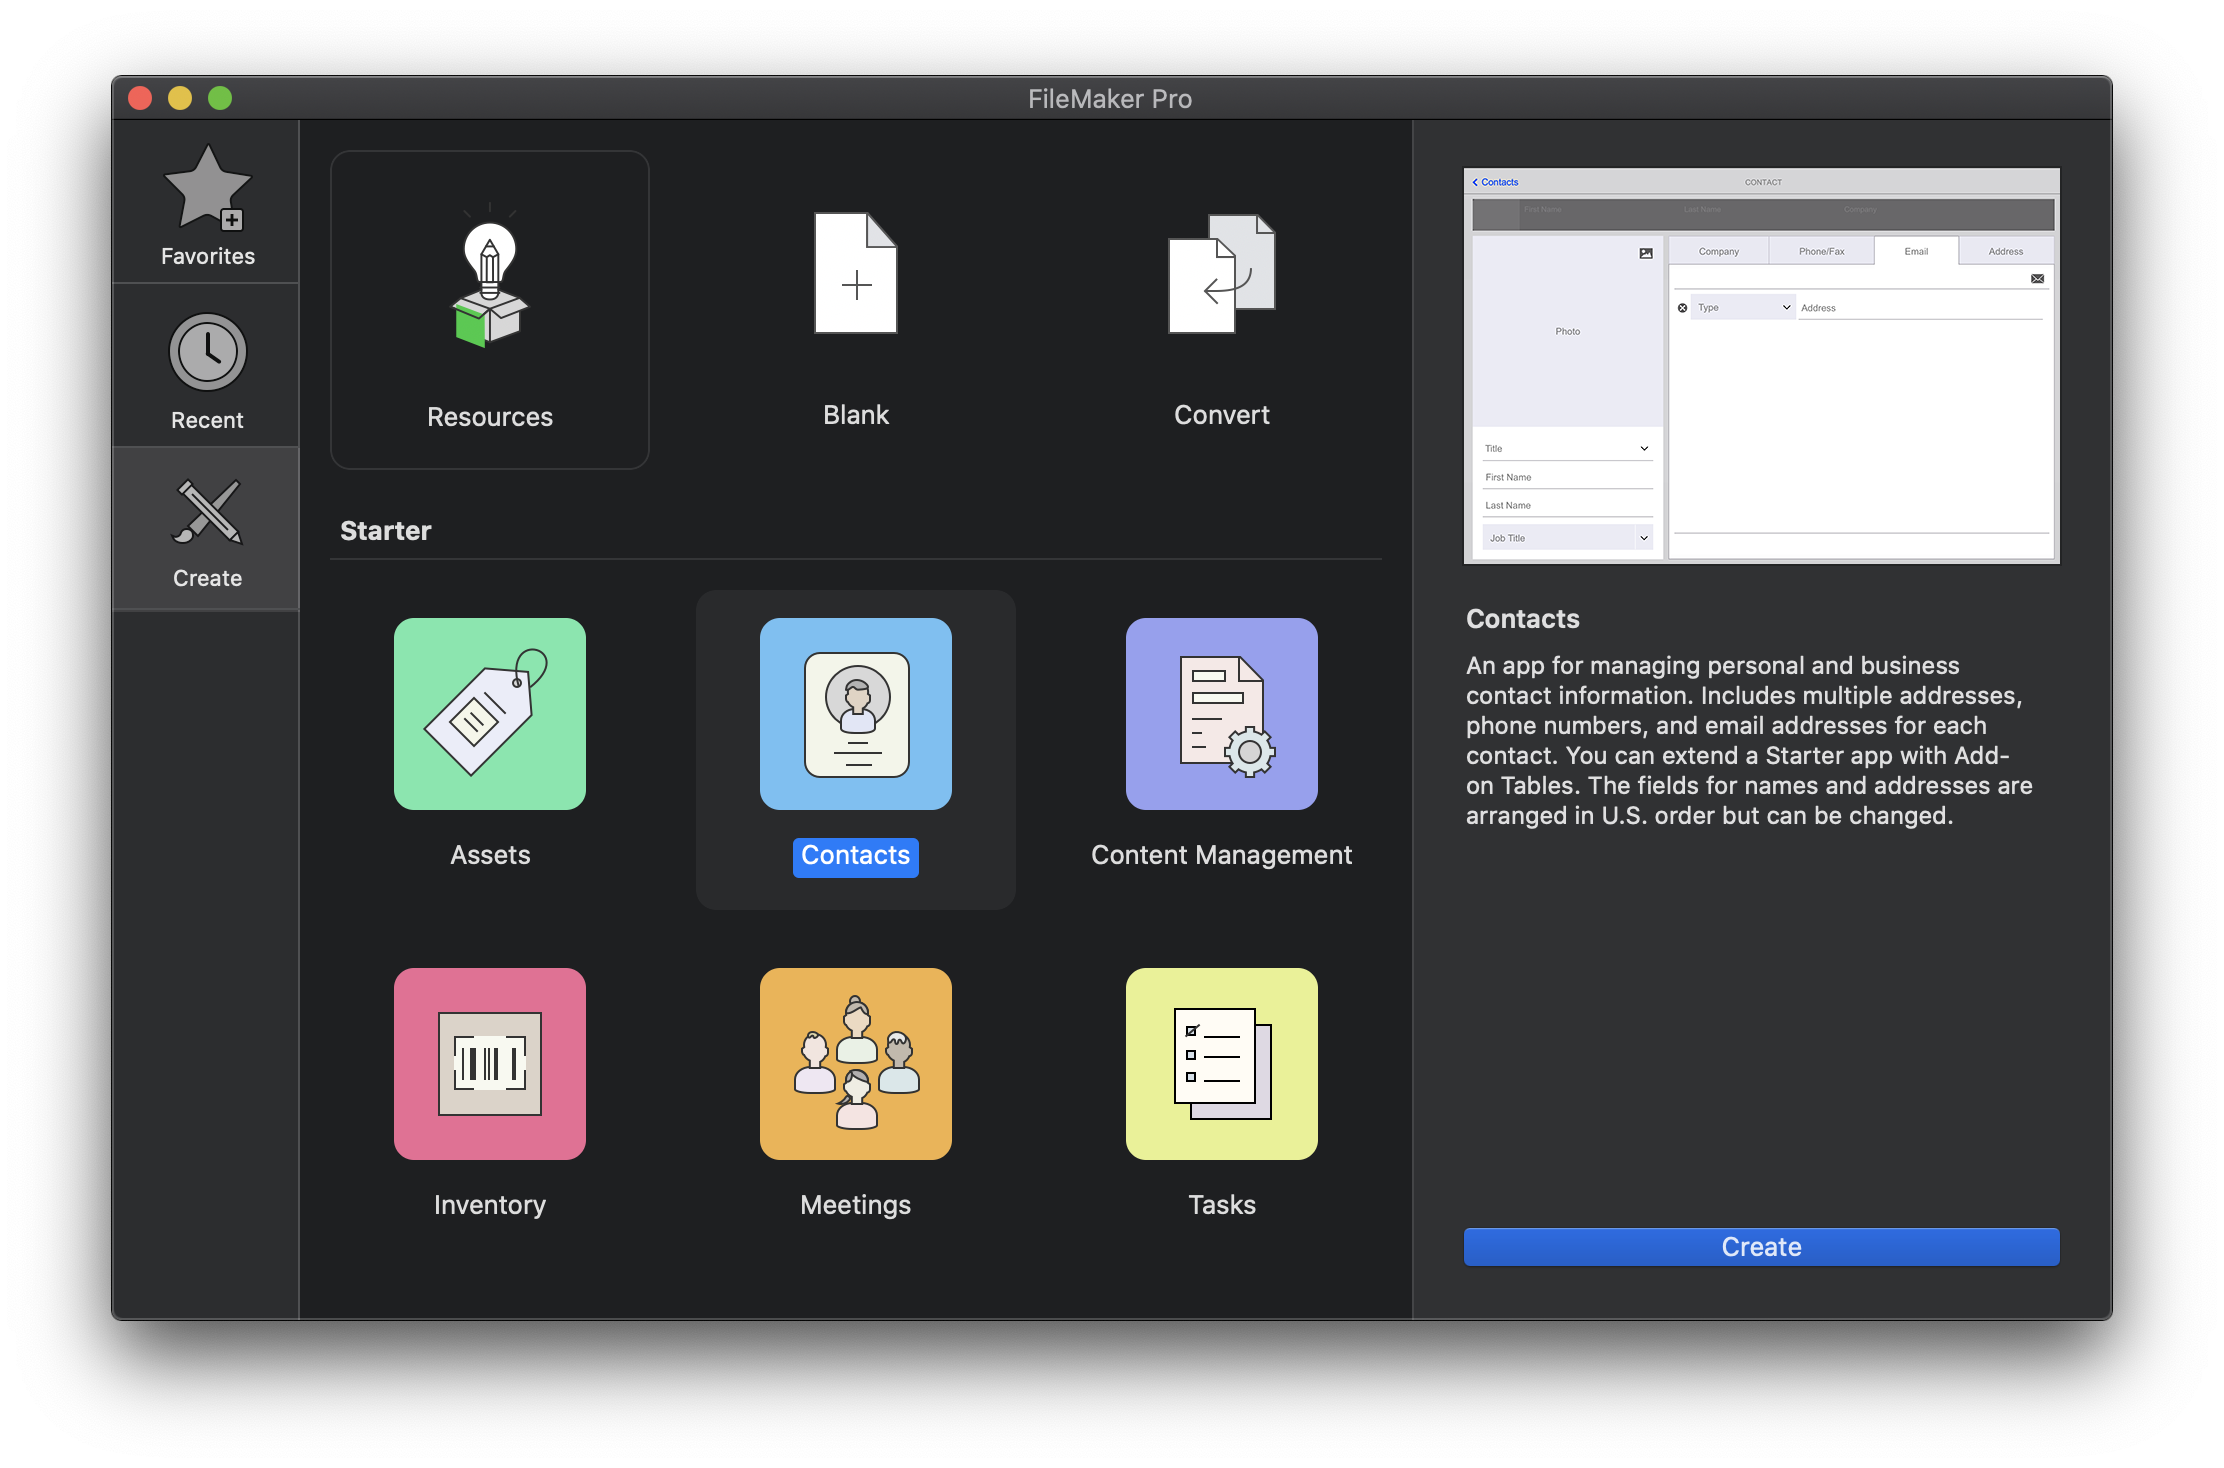
Next, let’s add our first actual layout model class. First, we’ll need a FileMaker database to connect to. For simplicity’s sake, I’ll just create a pre-built Contacts app to use as our database.
Naturally, our first layout model will be called Contact, so let’s create it:
The layout macro above specifies the name of the FileMaker layout we’ll be connecting this class to. If omitted, fmrest-ruby will try to use the name of the class as the layout name ("Contact" in this example), but since in our case they don’t match, we need to specify it.
At this point we can actually start using our Contact class. Let’s fire up a Rails console (bin/rails c) to play a bit with it:
The first thing you’ll probably notice is that the logger is very chatty, spouting information about each Data API request as if there’s no tomorrow. That information can often be useful for debugging (especially if something had gone wrong with our Data API connection) but if it’s too much for your liking, you can go back to config/filemaker.yml and turn the log option to false. You can always turn it back on if you need it later. For the sake of brevity I’ll leave logging off for the following examples.
Back to our Rails console, let’s modify a record:
So we’re already able to fetch a layout record, modify it and save it. That’s great, but having to access attributes by calling contact["First Name"] is not very ergonomic nor Ruby-like. We can do better.
Let’s add some attribute mappings to our class:
The attributes method lets us map Ruby-friendly names to actual layout field names. With this in place we can now do:
Much better! And we can actually use the new attribute mappings pretty much anywhere where a field name would be expected, for instance when querying:
Here, the .query method lets us define find conditions on field values for our find request, and .sort specifies which field to sort by, similar to ActiveRecord’s .where and .order respectively.
Topped Off With a Sprinkle of UI
So, let’s now leave our Rails console and build a simple web UI to list and display our layout records. We’ll start with the controller:
Next, a simple index view (app/views/contacts/index.html.erb) listing links to contact profiles:
Notice how we call contact_path(contact) instead of contact_path(contact.record_id). This is because FmRest::Layout is at its root compatible with ActiveModel (the bones of ActiveRecord), so it shares many tricks with ActiveRecord. One such trick is providing to_param, a method that Rails’ path helpers (like contact_path here) will try to call on their given argument, so we don’t have to explicitly point it to the id attribute.
And finally the Contact profile view (app/views/contacts/show.html.erb):
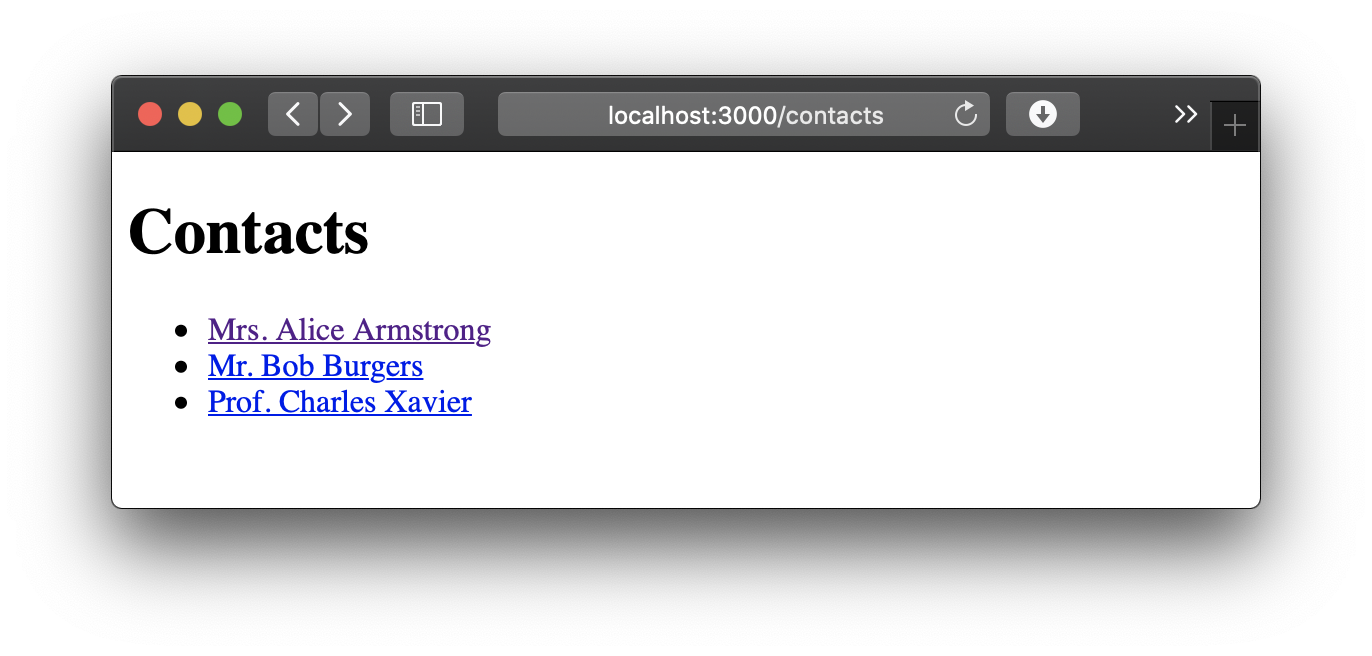
With that in place we can now fire up our Rails server and open /contacts in our browser, and voilà:
This is of course just a toy application, but from here on adding things like full CRUD operations or simple pagination should be fairly familiar territory (provided that you have experience building Rails apps.) So, I’ll leave that as an exercise for you, dear reader. Here are a few added suggestions:
And make sure to also give fmrest-ruby’s README a read for details on these and other, more advanced features.
I’m hoping to do a follow up blog post where I’ll add portals to our Contact model.
If you’re interested in the nuts and bolts of how the Claris FileMaker Data API works I recommend you read Beezwax’s blog posts on the topic.
Need Help?
Beezwax builds custom software solutions for almost any need. We can help you build web applications using Ruby on Rails and/or JavaScript, including integrating fmruby-rest with your FileMaker solutions. Contact us to learn more.