Combining functions, features, or steps in creative new ways can deliver productive results. I was thrilled to discover in FileMaker 18 that the new file-based script steps give us the ability to perform imports natively on FileMaker Server, with no configuration or changes needed.
You can also take advantage of Perform Script on Server (PSoS), and handling imports asynchronously. Performing imports like this, natively, means avoiding the traditional performance overhead that would tax both FileMaker Server and FileMaker users over a WAN, and otherwise require waiting for imports to complete, synchronously.
In this blog post, I’ll use the new FileMaker 18 file-based script steps combined with PSoS for a little import magic, and hint at how to improve data-driven workflows. Like it or not, we can’t always escape the flood of cheap spreadsheets, but maybe we can build more efficient FileMaker integration with output from tools like Excel.
Here is a demo file you can use to try out the techniques:
Imports_on_Server – FileMaker 18 Demo [1.4 MB]
Account Name: admin
Password: import
A Brief History of PSoS and Imports
Let’s start at the beginning! My favorite FileMaker version happens to be 13. Not only is my favorite number 13, but Perform Script on Server (PSoS) was introduced in FileMaker 13. If you have seen me present at a past DevCon you’ll note that I like to use intersection diagrams to explain how things fit together:
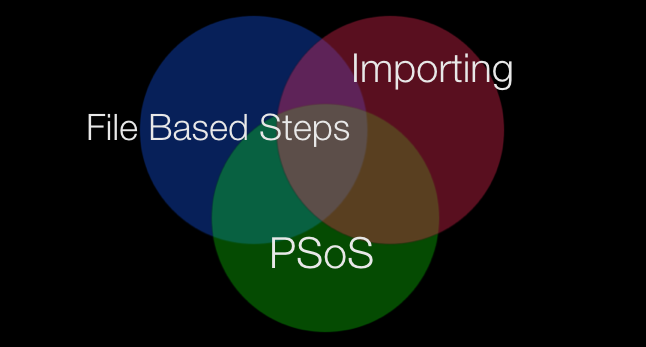
With file-based script steps in FileMaker 18, you can perform imports natively, and take advantage of Perform Script on Server.
What came before this? A lot of things. A few years ago we covered how imports on FileMaker Server are definitely worth it, especially for improving speed:
100x Faster – Flight Testing FileMaker Perform Script on Server – Part I
In a follow up blog post we shared more PSoS techniques, including how to set up the additional database folder to get imports to work on server. Not everyone’s cup of tea, I realized, and a number of people reached out to help them get it set up correctly.
Limits On Imports
When executed on FileMaker Server, imports can only reference files that are in either the documents directory or the temporary directory. Similarly, exporting data follows the same restrictions. When you perform the ‘Export Records’ script step on the server it can only output to the documents directory or the temporary directory.
Another interesting side point is that the temporary directory comes into existence only when referenced by the script and once the script completes then the directory vanishes without a trace.
In hindsight, if the ‘Export Field Contents’ script step were supported on the server then we could have used that step to export the file from the container field to the temporary directory and then passed the file path to the import script step for it to import the data. Unfortunately the ‘Export Field Contents’ script step is still not server compatible.

Export Field Contents [Create folders: Off]
(When a step is grayed out it indicates that the step is not compatible to run in that location.)
In the past, to get imports to work we would add an additional database folder and have it point to the Documents directory. And because the new folder was inside the Documents directory, the FileMaker file hosted in that directory would cause externally stored files to be placed in the same sub-directories. Thus, if we used the path of the file in an import script step, it would allow us to import data. Almost every time we would set up a FileMaker Server, we would set up this additional database folder ahead of time. With FileMaker 18, this is no longer needed.
So, you may ask yourself, why did we go through all this trouble? There were two good use cases. First, if you import large amounts of data. And, second, if your users perform these imports over a WAN. In either case, you should see great improvements in performance. There were also additional benefits to using this approach. For example, you can also have the task become asynchronous, by not waiting for a result to be completed.
Maybe in addition to importing you’ll be validating the data in a “staging” table. One of the best practices that we often employ with this technique, would be to import the data into a staging table and to loop over the data and validate it before we create it into our production tables. WE NEVER IMPORT DATA DIRECTLY INTO PRODUCTION TABLES!
FileMaker 18 Native Imports
Now with the release of FileMaker 18 and new file-based script steps this capability can be achieved in a native manner.
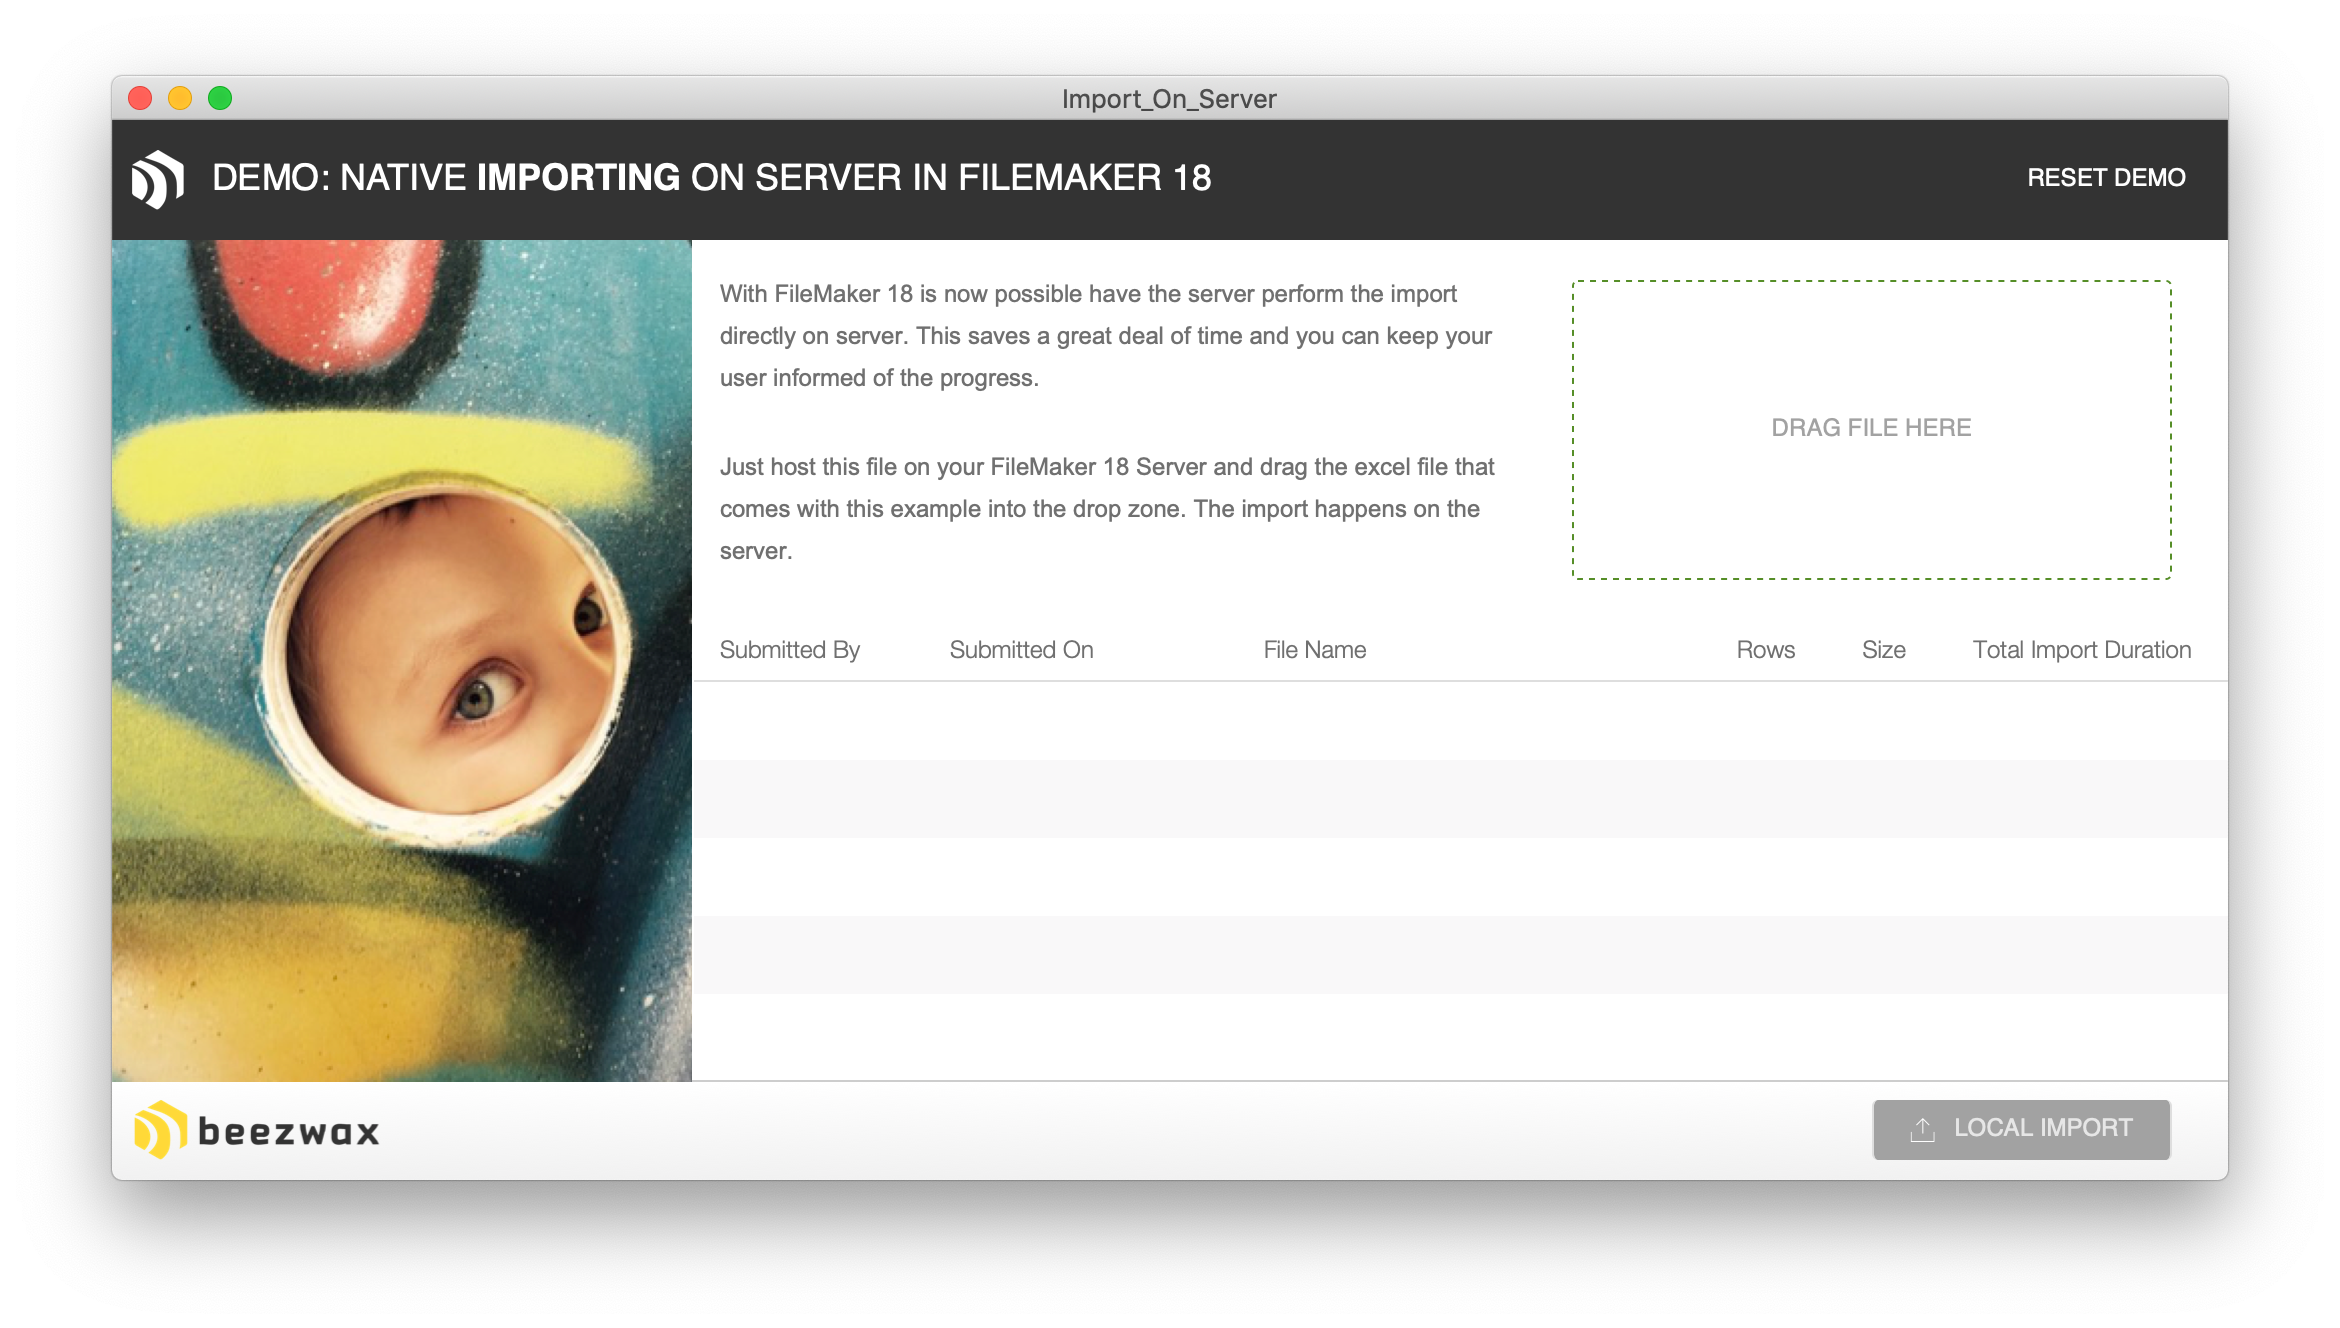
When you first open the demo file there will be no data in it. Obviously, if you have the file open locally, you can drag a file into the drop zone to ingest it—but to see the value here, you’ll need to host the demo file on FileMaker 18 Server.
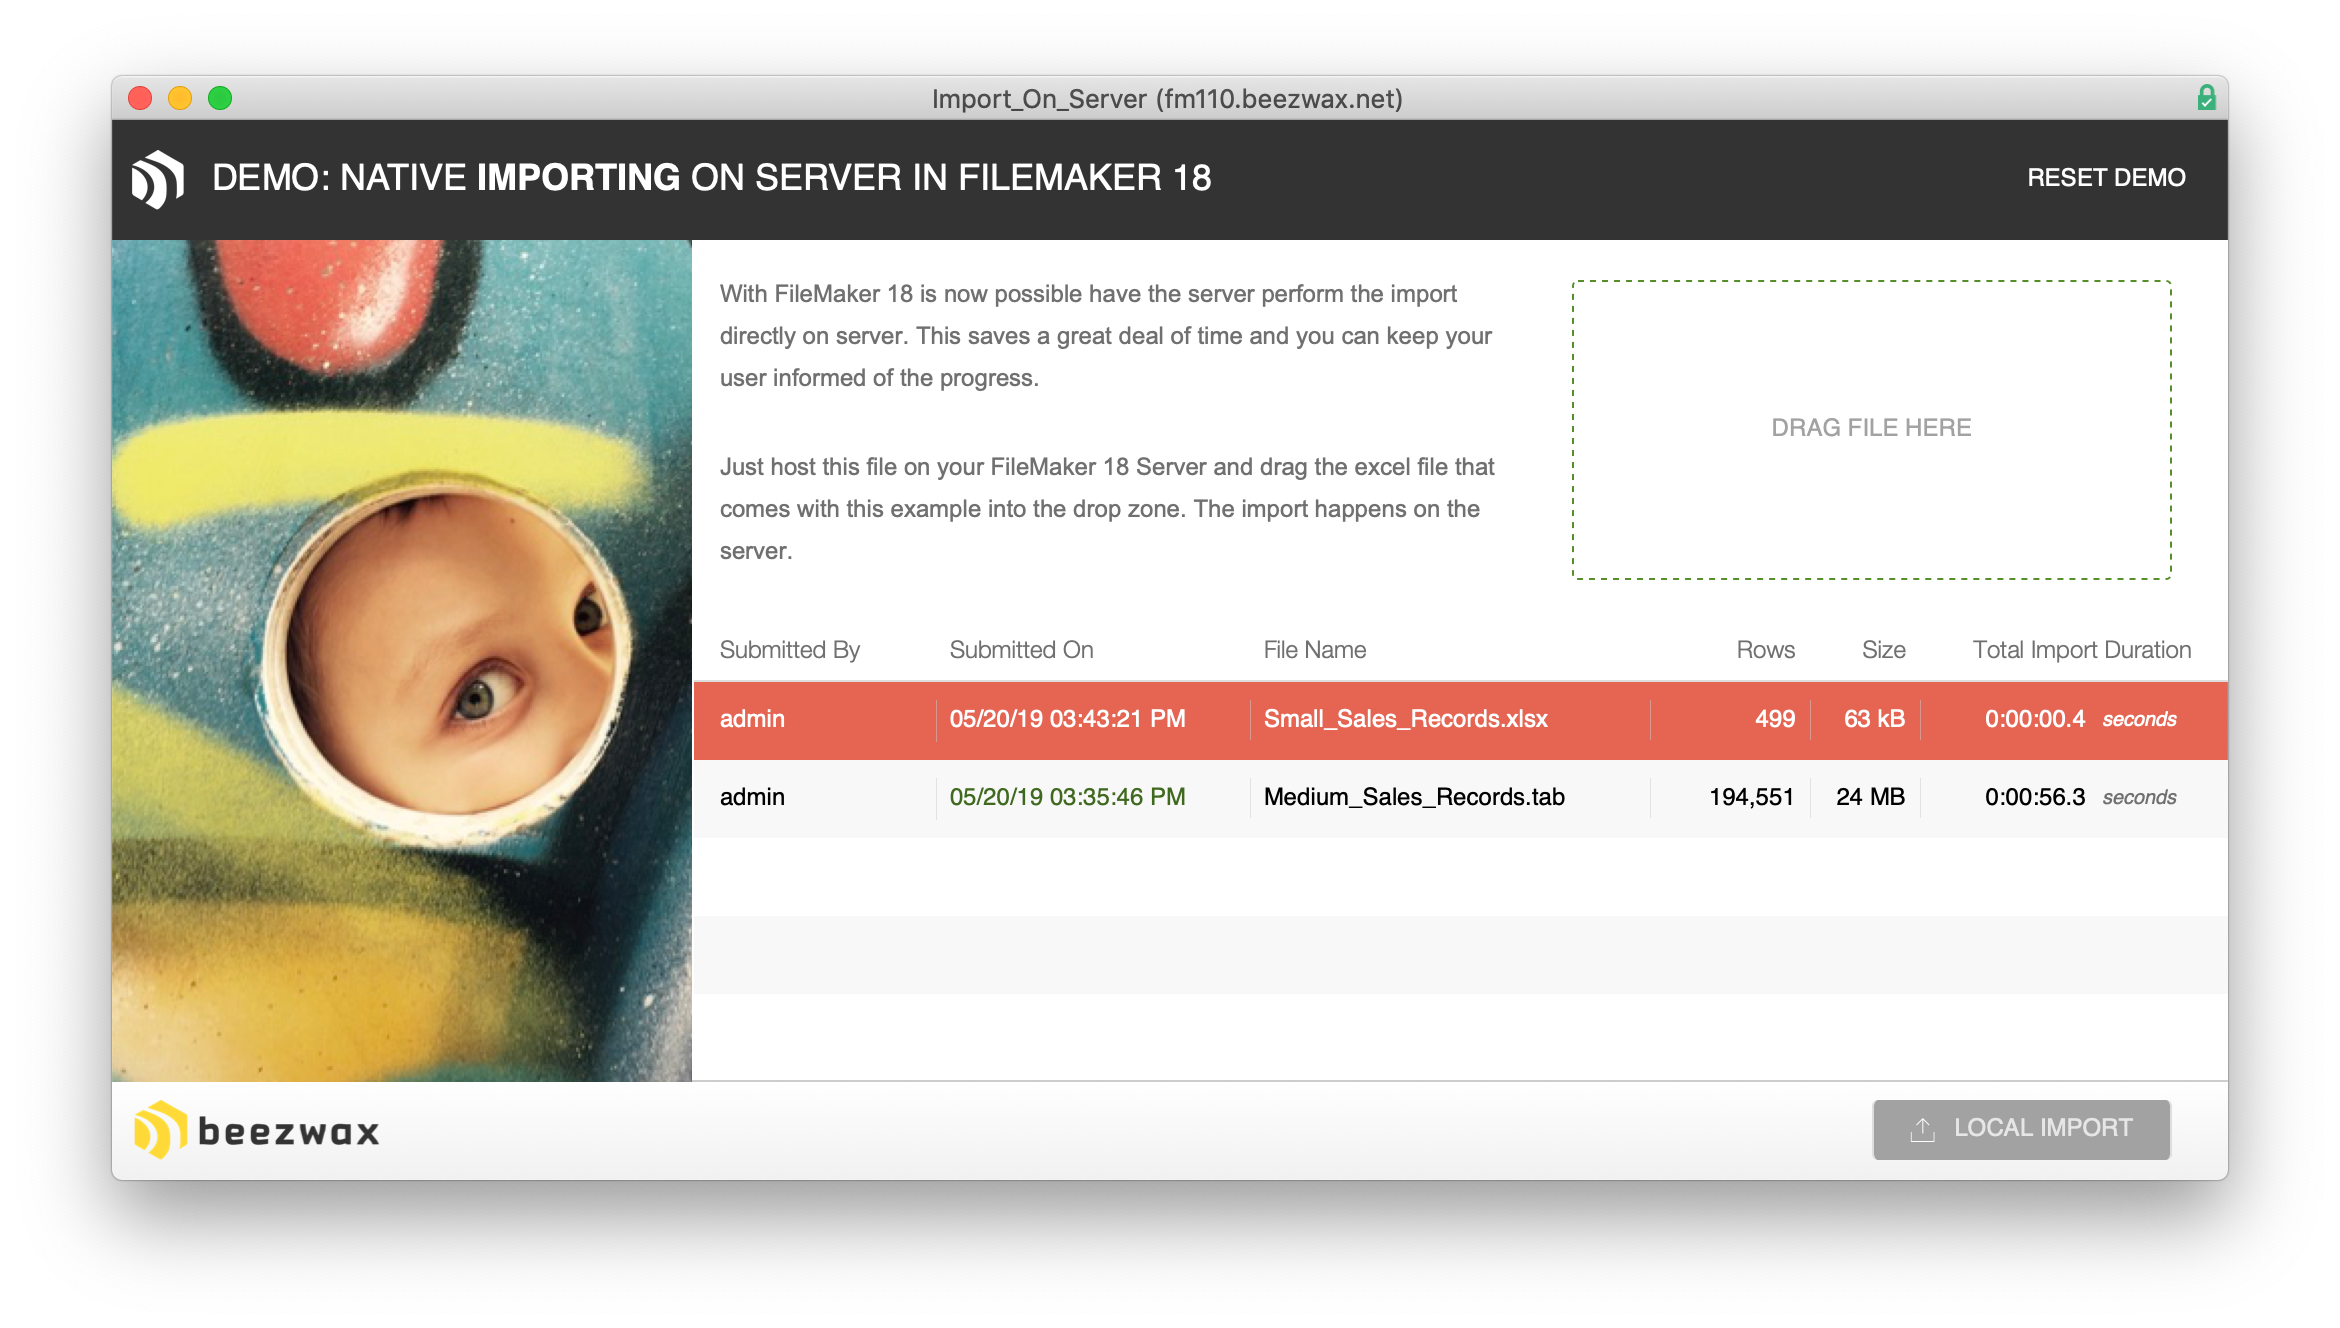
Once it is hosted, open the demo file, then drag and drop any one of the 3 files. And if you look into the “. import ( … )” script, you’ll see how we set it up to work via the server.
The next step thing that happens is the file gets moved over to the server. First, locally the user drops a file on the global container field. This field has a script trigger on it to create a record in the import table. It will move the data from the local global field into the newly created import record. The import record has open storage and so the file is now technically moved to the server. The script gets the ID of the import record that was locally created, then passes that information as a parameter to a script that runs on FileMaker Server.
The magic is all here. The main thing is to create the file in either the Documents directory or the Temporary directory (your choice). The benefit of the Temporary directory is that it exists only during script execution, so you don’t even need to remove the file when done. However, in this example, I use the Documents directory, just to be explicit:
Set Variable [ $_path; Value:Get ( DocumentsPath ) & “Import/” & GetContainerAttribute ( IMPORT::FILE ; “FileName” ) ]
If you look up the Help for the ‘Write to Data File’ script step, you’ll see the following mentioned:
The maximum amount of data this script step can write at a time is 64 MB. If the data to write is larger than 64 MB, you can perform this script step multiple times, writing an amount no larger than 64 MB each time.
Write as writes data to the file using FileMaker’s default UTF-16 (little endian) character encoding or UTF-8. If the data source is container data, this option is ignored and data is written as binary.
That is the best part. Because your file is already stored in a container field you don’t have to worry how big it is. It will just work!
Summary
Now with FileMaker 18 and file-based script steps, we can output the file to either the documents or temporary directory and then pass that path over to an import script step to execute the import on the server. As in the demo file this can all be done asynchronously. Thus, you can let your users do other tasks while this task happens.
It’s thrilling to finally have this native ability. Let us know what you think.
3 thoughts on “Imports without Tariffs. Natively, with FileMaker Server.”