FileMaker 19 introduced support for Dark Mode. Not only does the application’s chrome support Dark Mode (like many applications), but developers now have the ability to detect the OS Dark Mode setting.
Let’s look at three easy techniques to give FileMaker Pro users a choice between Dark Mode and Light Mode, plus an option to automatically adapt modes based on OS settings.

Two notes before we start.
First, the function to detect the OS setting overloads a very old function introduced in FileMaker 6 called Get ( HighContrastColor ). This function worked only on Windows and reported a somewhat arcane accessibility setting. Now renamed Get ( SystemAppearance ), the original functionality remains on Windows, but on macOS, iOS, and iPadOS it now returns the system appearance name, Aqua (“Light Mode”) or DarkAqua (“Dark Mode”). So, long story short, Dark Mode works only on Apple platforms.
Second, while the ability to detect the OS system appearance is limited to FileMaker Pro 19, the three techniques we will explore also work in FileMaker Pro 18, so you could “fake it” by giving users a preference to switch modes. Details after the break…
Supporting Elements
The demo file script “Override ( Mode )” serves two purposes. It enables FileMaker Pro 19 users to explicitly override the current system appearance. That is, to display a solution in Light Mode while the OS is in Dark Mode, or vice versa. Second, as hinted above, it allows FileMaker Pro 18 users to manually switch between light and dark. This script simply sets a global variable $$_override_mode.

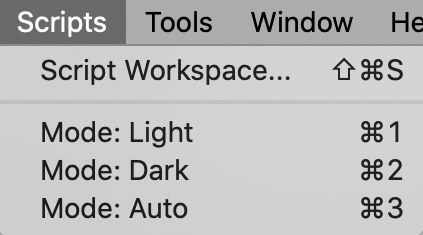
Three more scripts—”Mode: Light”, “Mode: Dark”, and “Mode: Auto”—set this global variable to the aforementioned “Aqua” or “DarkAqua” values or, in the case of the third script, to NULL, thus respecting the current system appearance. It can be convenient to add these scripts to the Scripts menu (⌘1, ⌘2, ⌘3) for development and testing. Linked to buttons, they could allow end users to control the solution appearance.
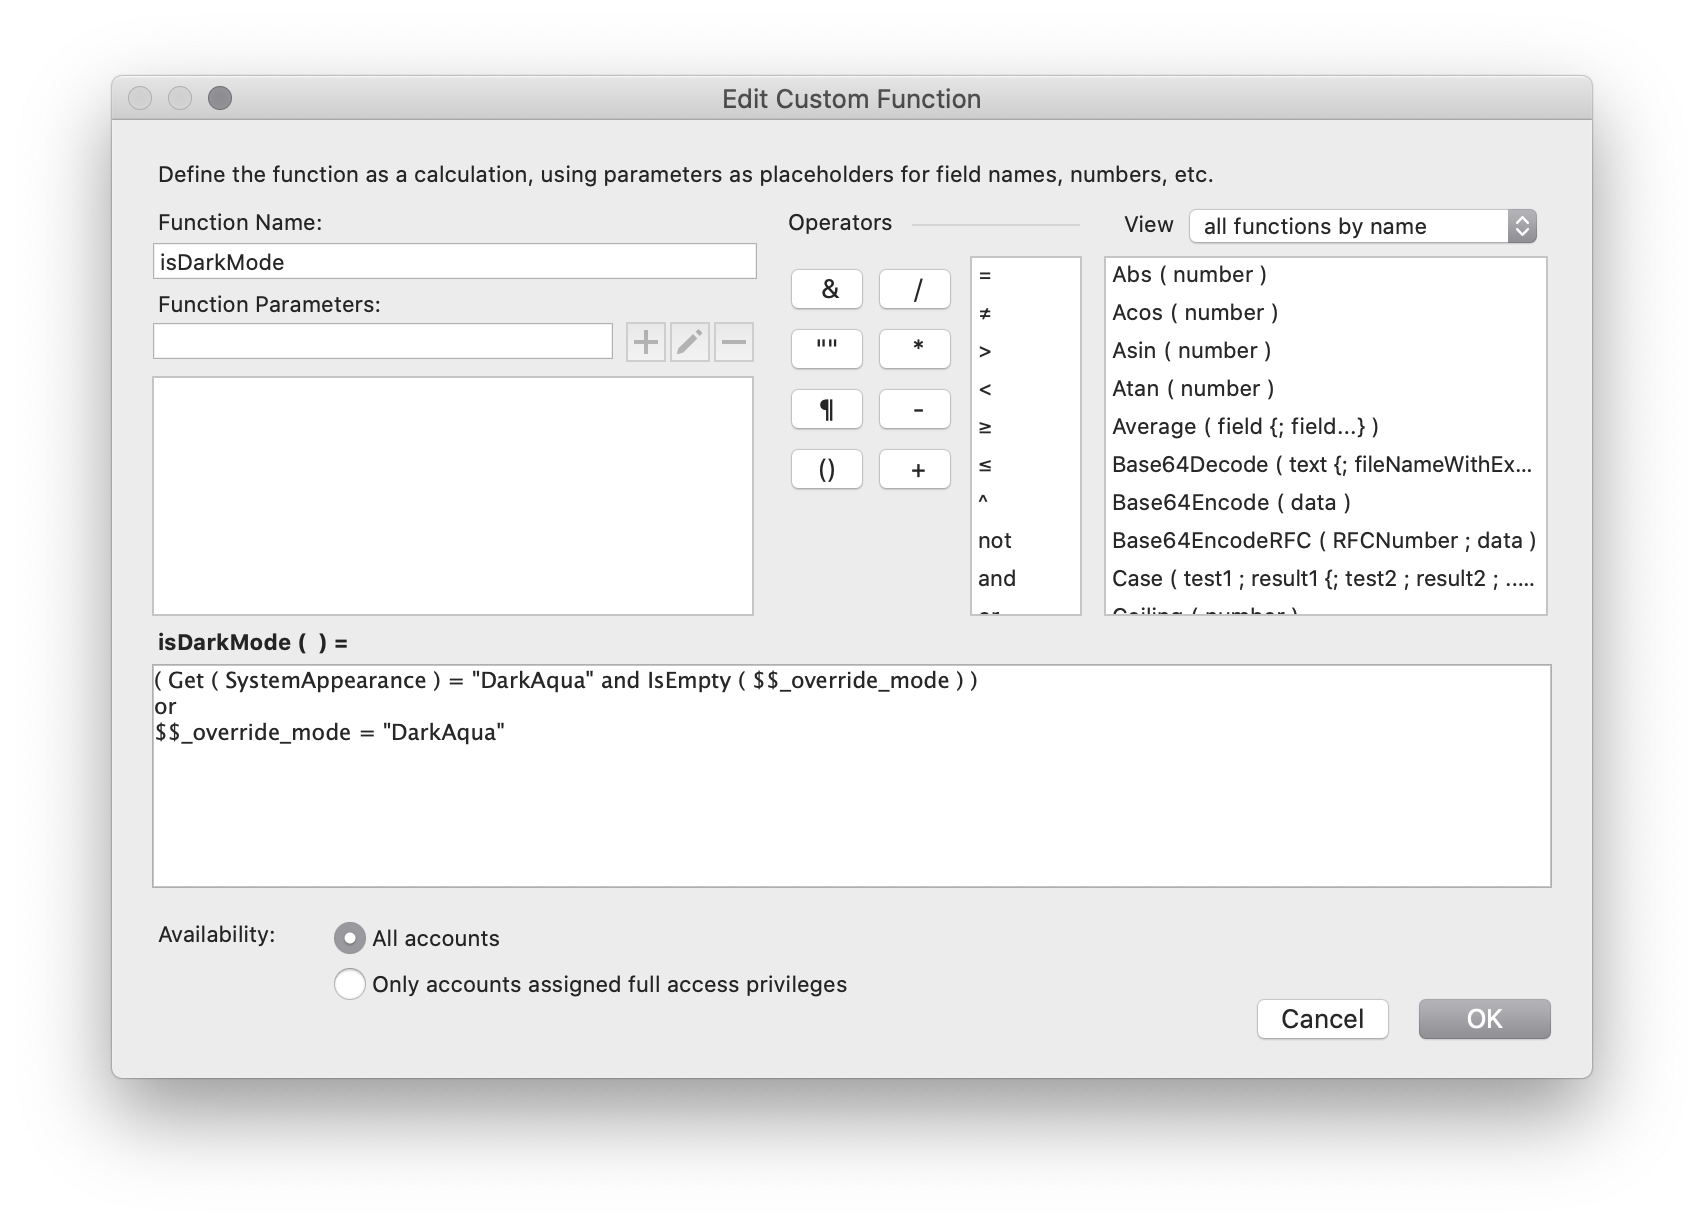
For convenience and readability, the “isDarkMode” custom function determines the current solution appearance. More than just Get ( SystemAppearance) in a wrapper, it also references that $$_override_mode global variable.
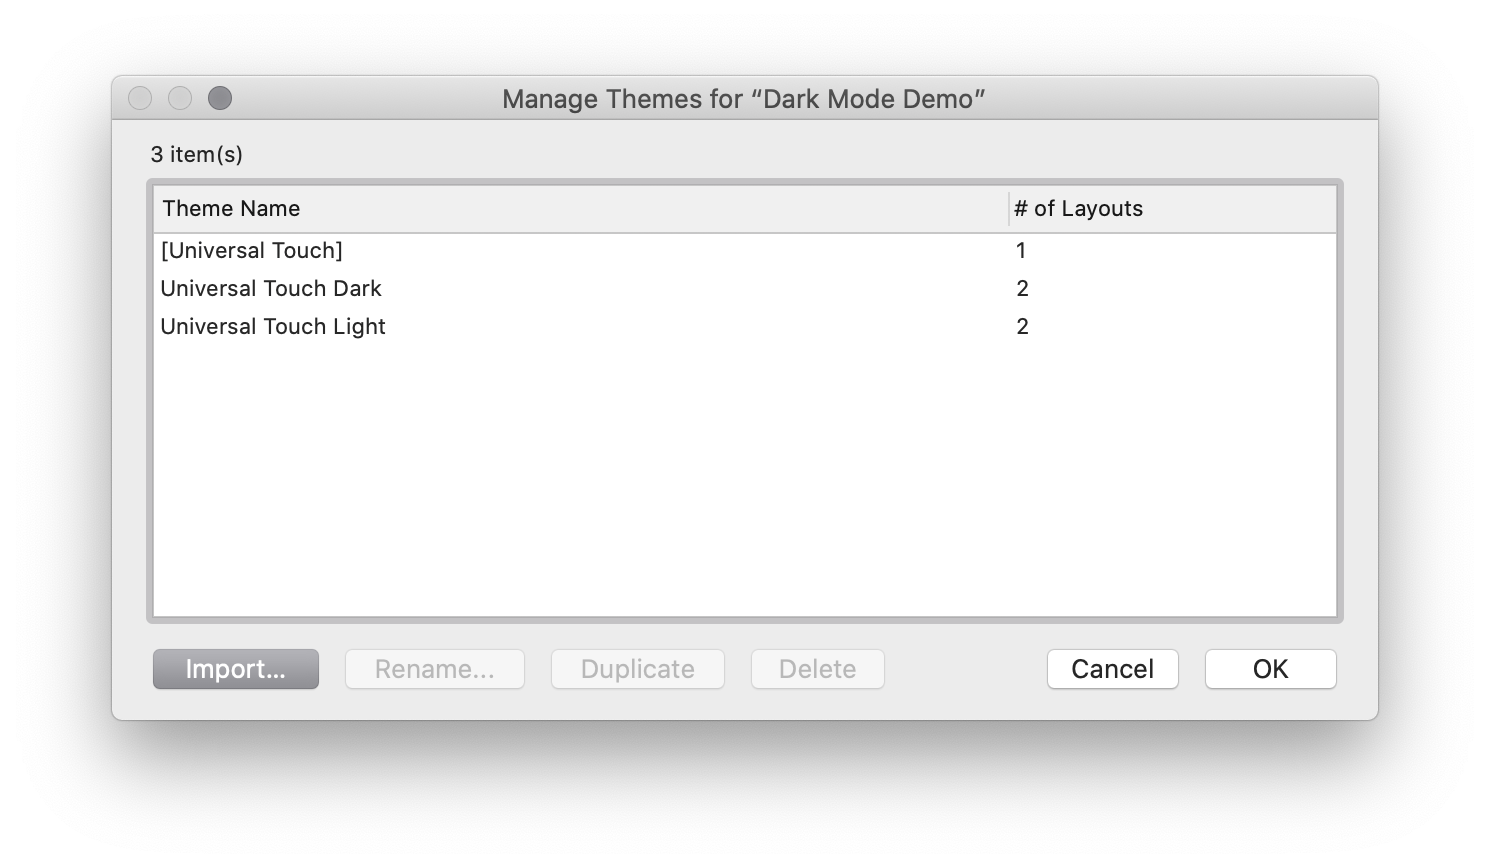
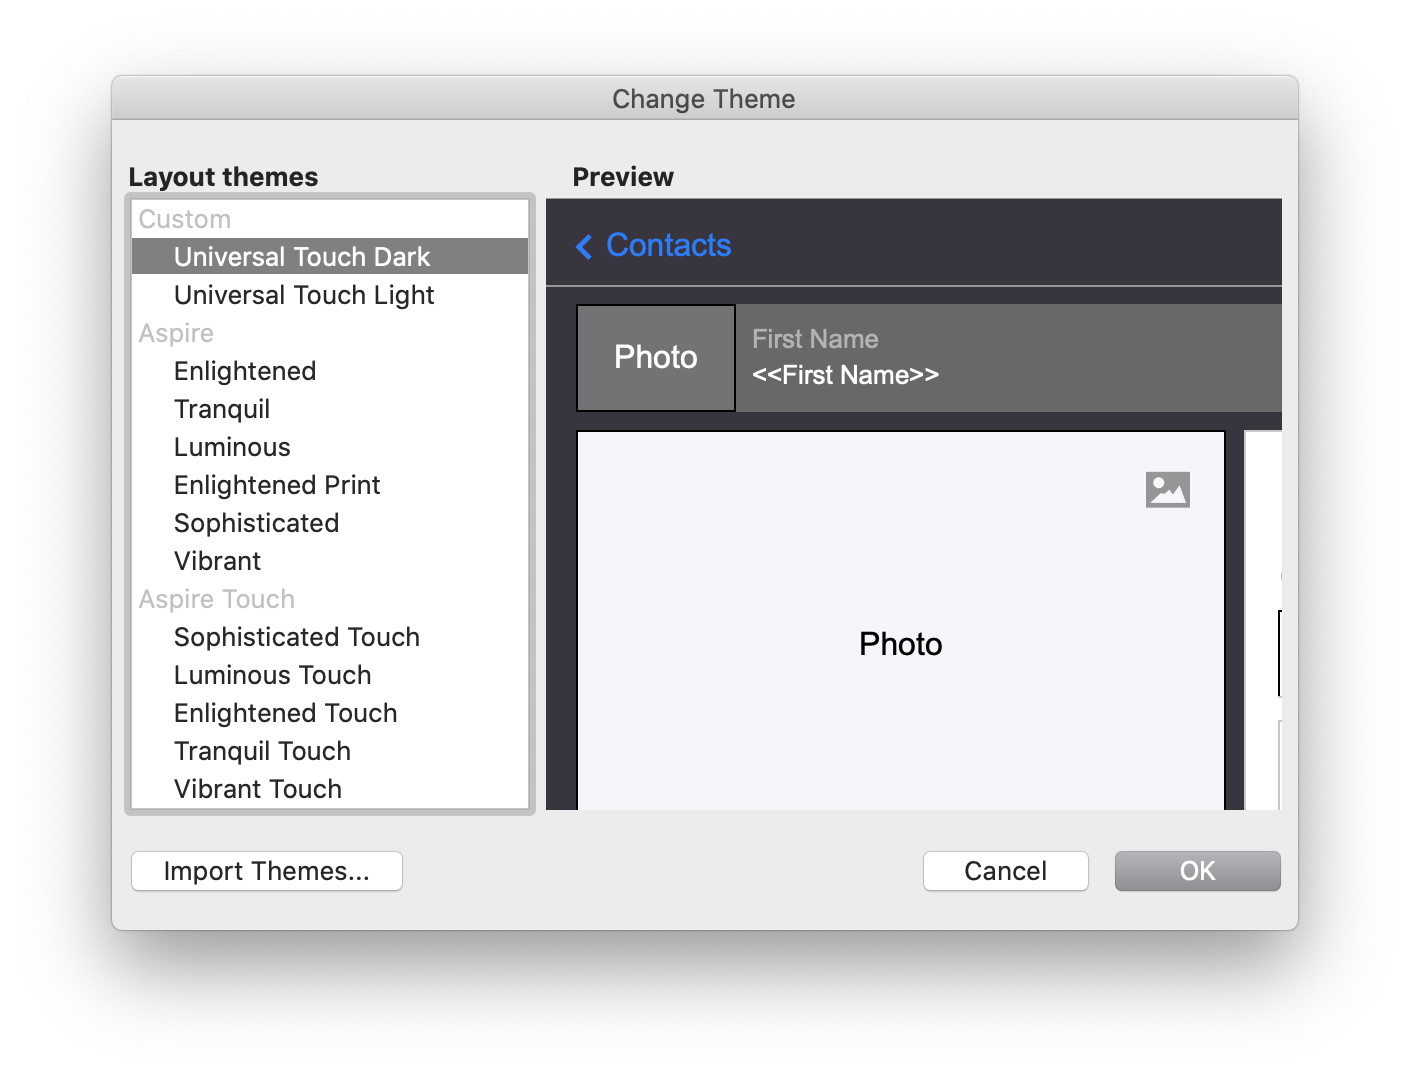
Finally, we define two separate themes, light and dark, to make styling simpler.
Method #1: Separate Layouts
Apple offers Dark Mode design guidance for both macOS and iOS (and iPadOS). There is more to Dark Mode than just color, so having two functionally identical layouts, one with the light theme and one with the dark theme, allow the greatest flexibility.
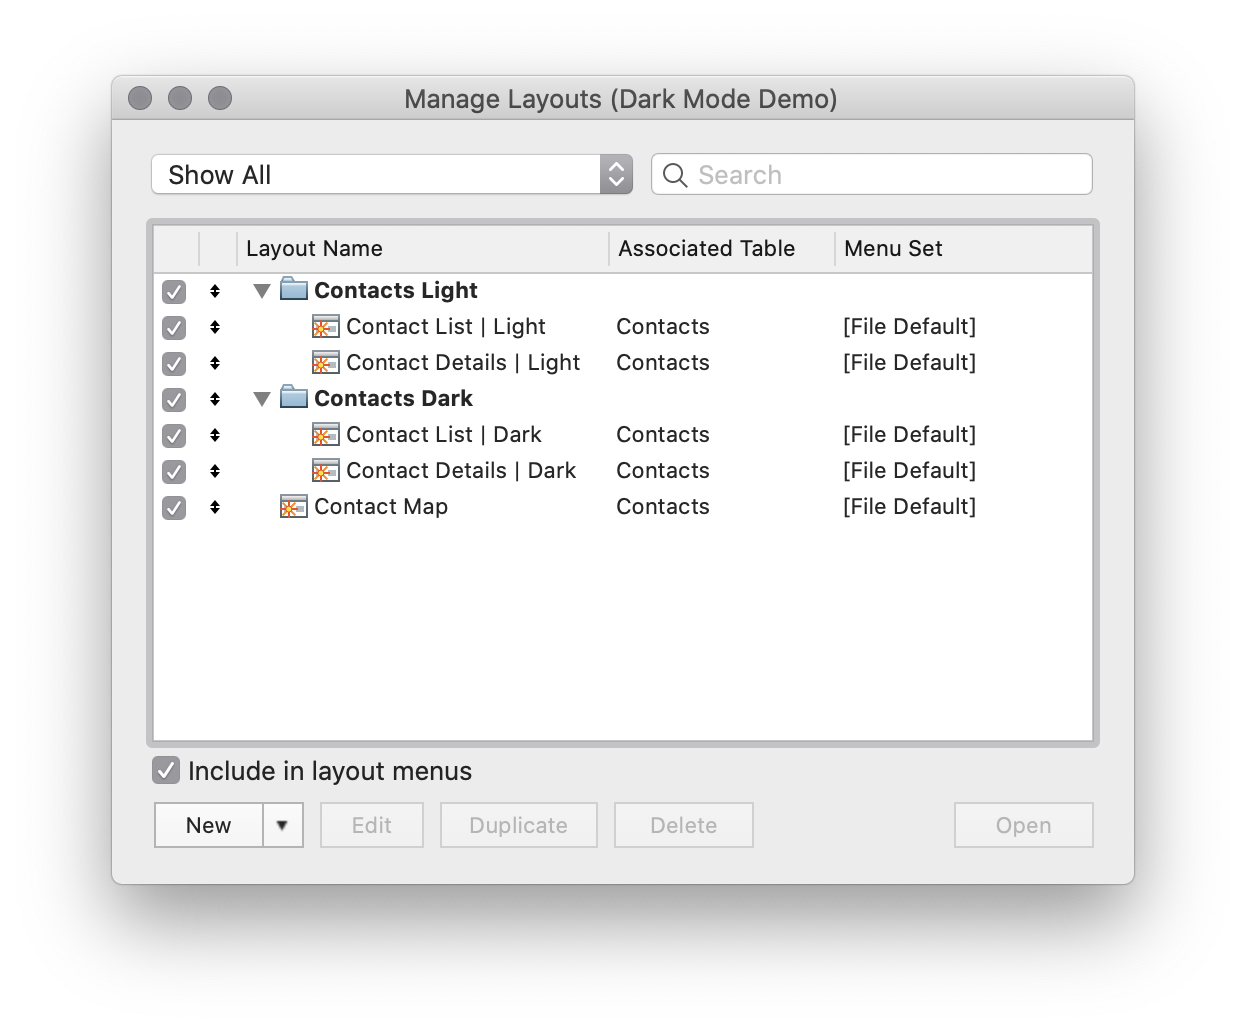
During development and maintenance, this can be the easiest with which to work on anything other than the most trivial layouts. Start by building a single layout until it is functionally complete, then duplicate it and apply the other theme to the second layout. The downside to this method, of course, is having to maintain two layouts from that point. Perhaps sometime Claris will allow us to apply a light theme and dark theme to the same layout.
The sample file has a script trigger “Switch to Dark or Light Layout” on both the light and dark layouts. Whether the user manually chooses a layout or a script navigates, the script trigger ensures the interface ends up in the correct mode.
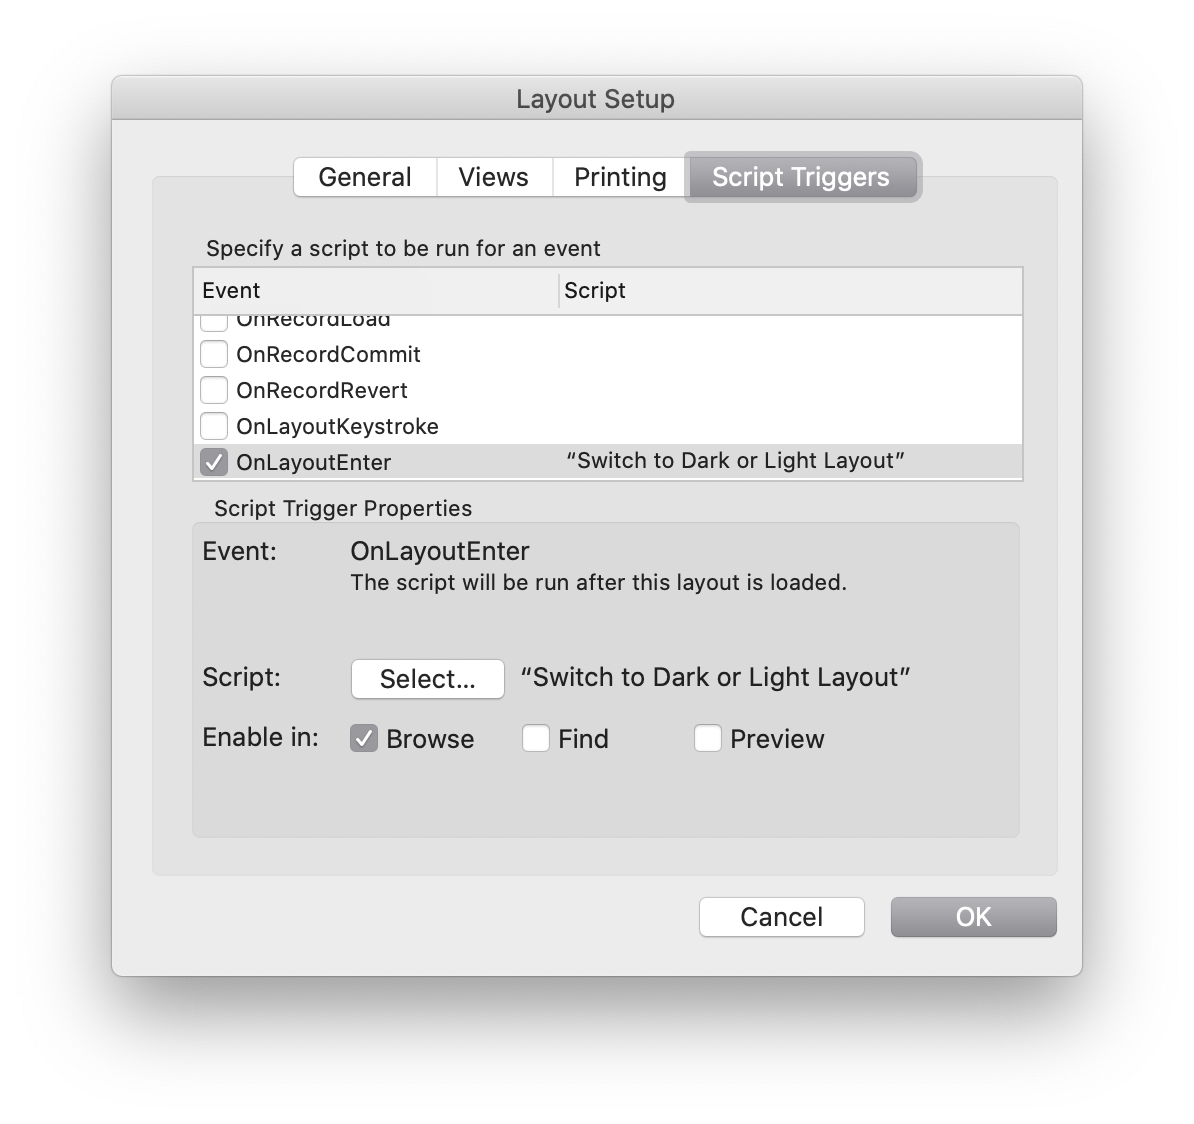
One other downside of this method is the script trigger runs only OnLayoutEnter, so if the OS changes mode, either manually or at dawn or dusk, the solution will not match until it switches layouts.
Despite the downsides, this method is often the most practical.
Method #2: Conditional Formatting
For very simple layouts, it may be necessary to alter only a few specific elements. In this case, conditional formatting—one formula for light mode and another for dark mode—can save the trouble of maintaining duplicate layouts.
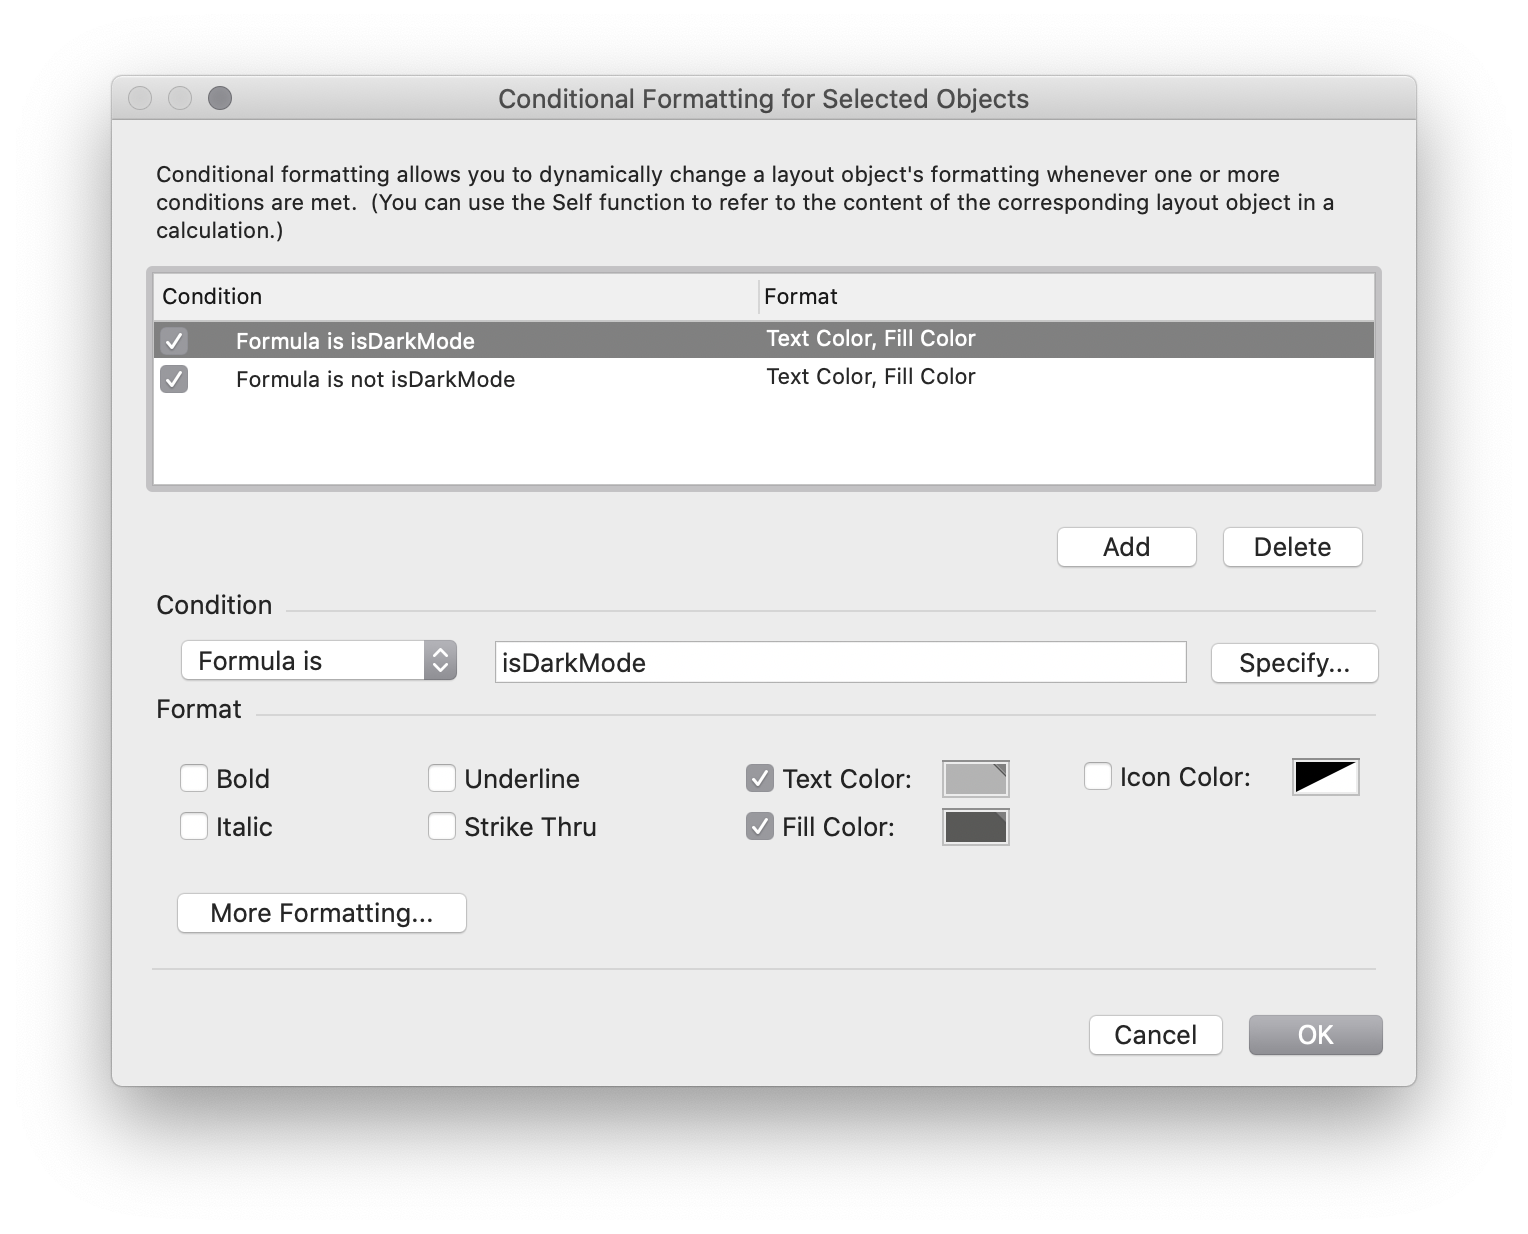
This can quickly become complicated when it is necessary to use additional conditional formatting unrelated to Dark Mode. In addition, not all objects support conditional formatting. Extensive conditional formatting can also impact both performance and network, so be sure to test accordingly.
Also note there is a bug (“it’s a feature”) in FileMaker Pro 19 where conditionally-formatted elements will not update—even with the Refresh Window hammer—when the system appearance changes. One workaround is to briefly switch to Preview Mode (that other “mode”) and back to Browse Mode.
In general, consider this method for minimal layouts, such as pickers, minimal card windows, and limited UI elements. In the demo file, see the navigation bar on the map layout.
Method #3: Stacked Objects
Combining aspects of the first two methods, stacked objects uses just one layout, but avoids conditional formatting by duplicating layout objects.
While there is only one layout, there are two copies of objects on the layout. To simplify somewhat, create two single-panel slide controls—one for light, one for dark—place the appropriate light or dark objects on each panel, and use a show / hide condition to display the appropriate panel. It can also be helpful in Layout Mode to use the Objects Tab to temporarily hide the panel on which you are not working.

This method requires careful organization, but can be a reasonable compromise between maintaining separate layouts and overly complex conditional formatting. In the demo file, see the web viewer graphic on the map layout.
In Closing
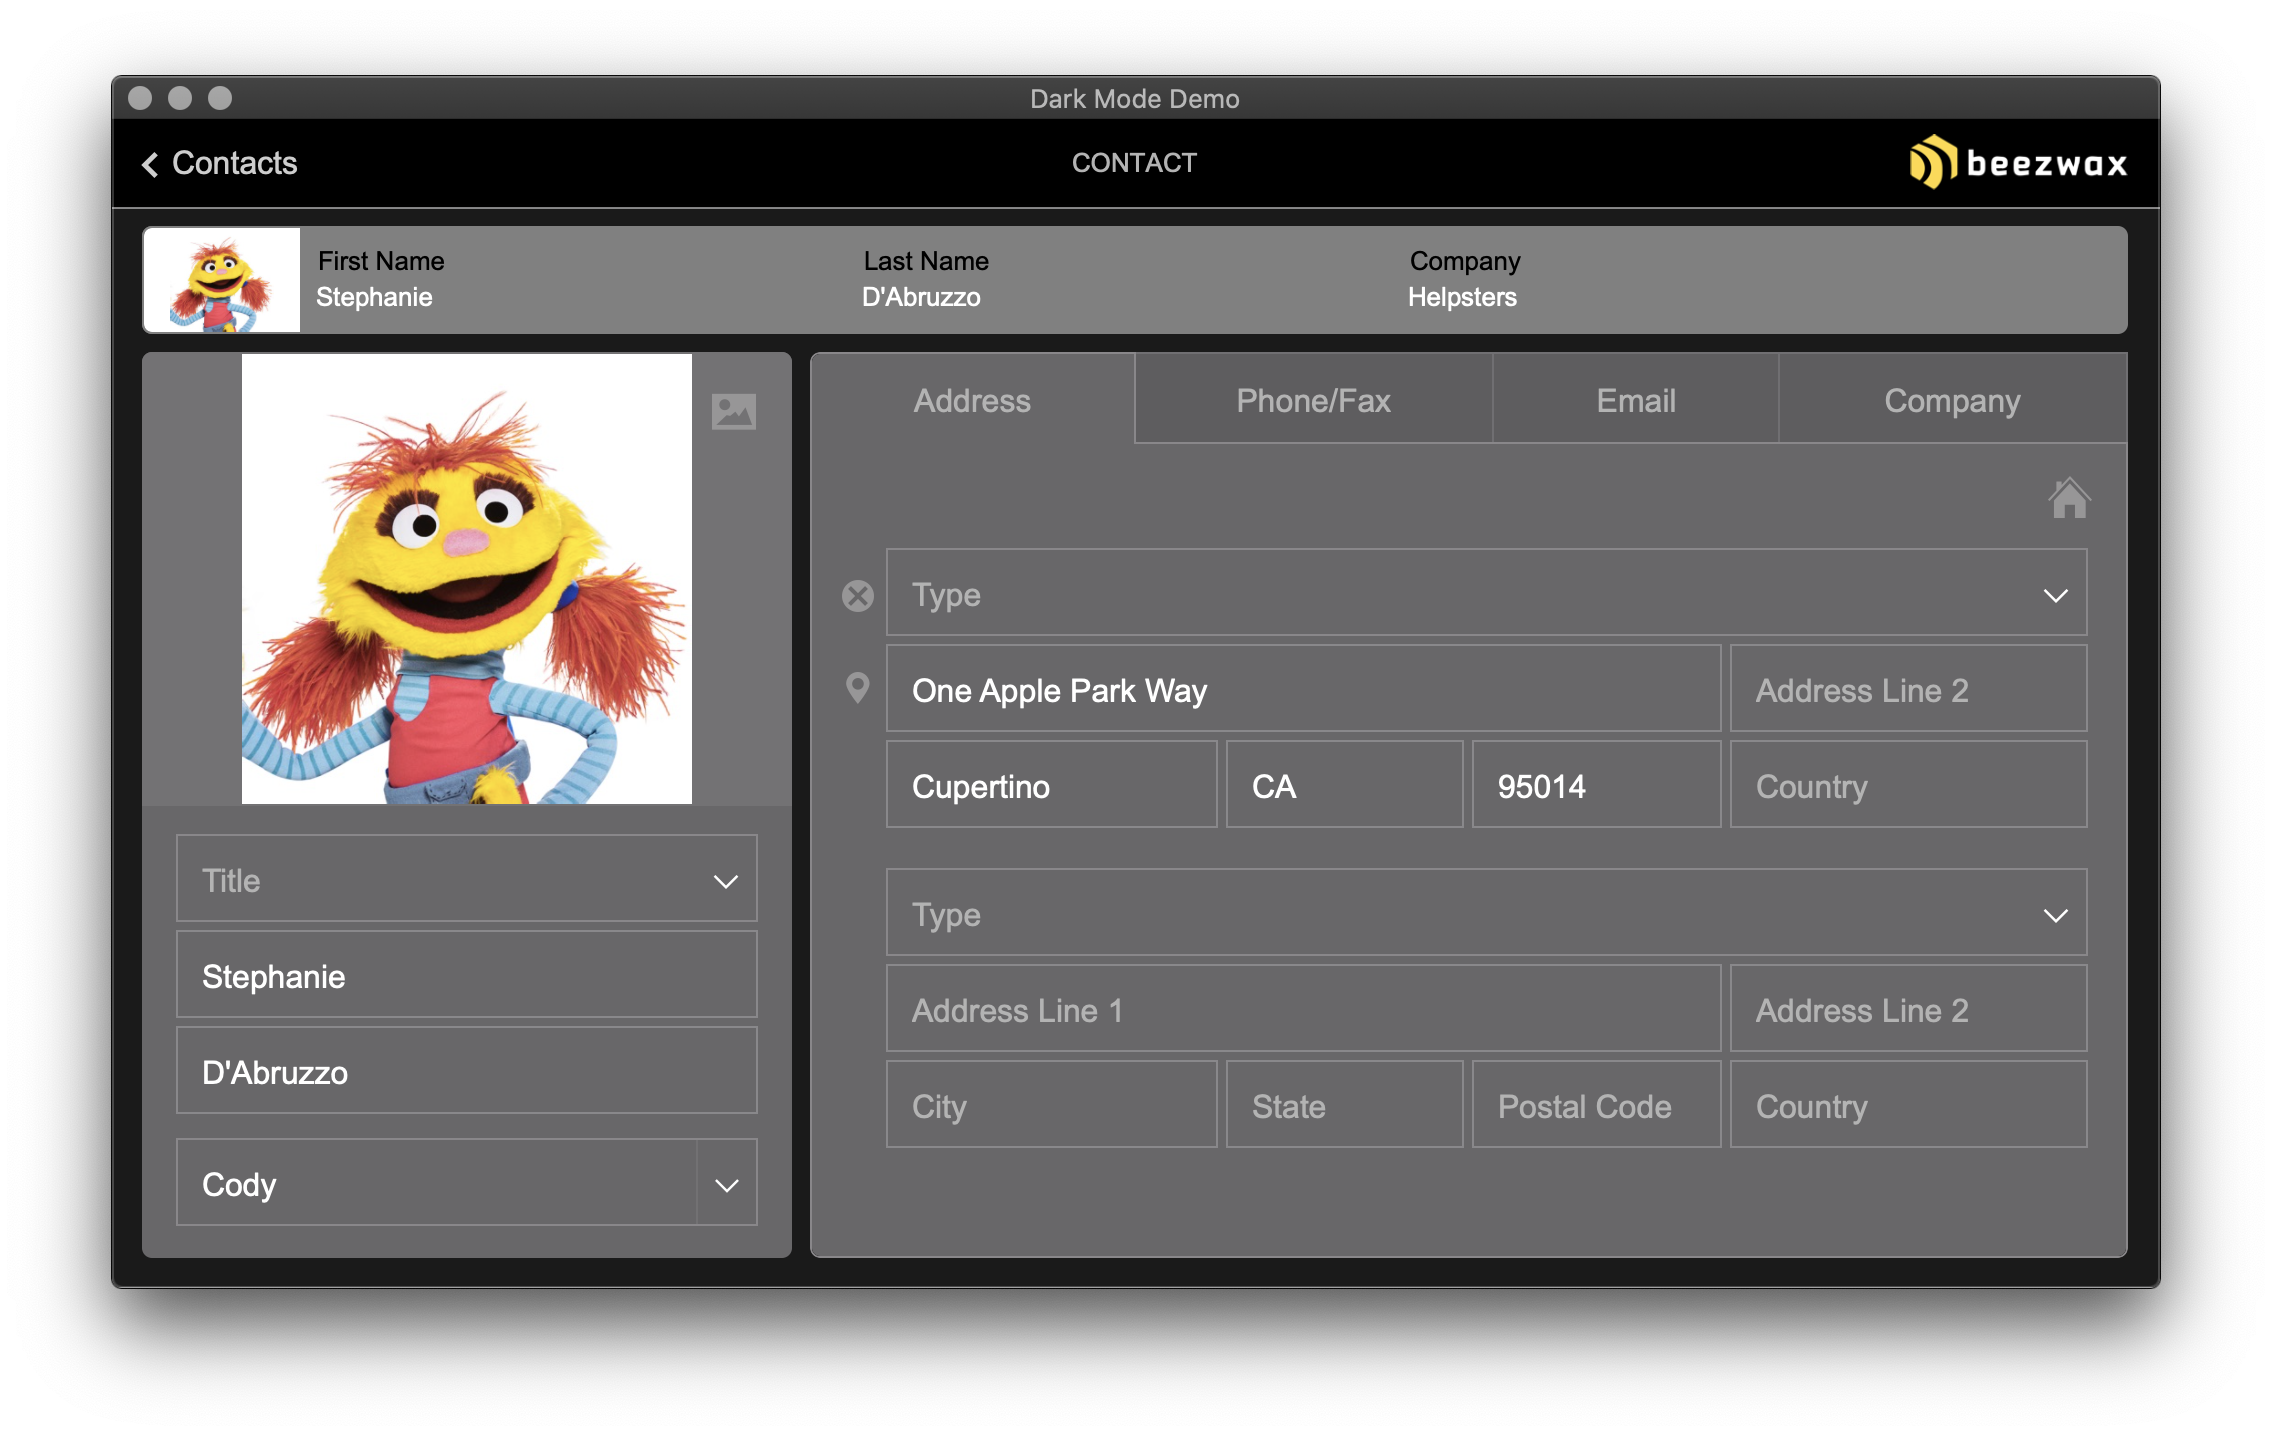
We briefly looked at the pros and cons of three intentionally simple ways to give users a choice of Dark Mode and Light Mode experiences. These methods can be applied to any existing or new FileMaker solution, and in fact the demo file is based on one of the FileMaker Pro 19 built-in starter solutions.
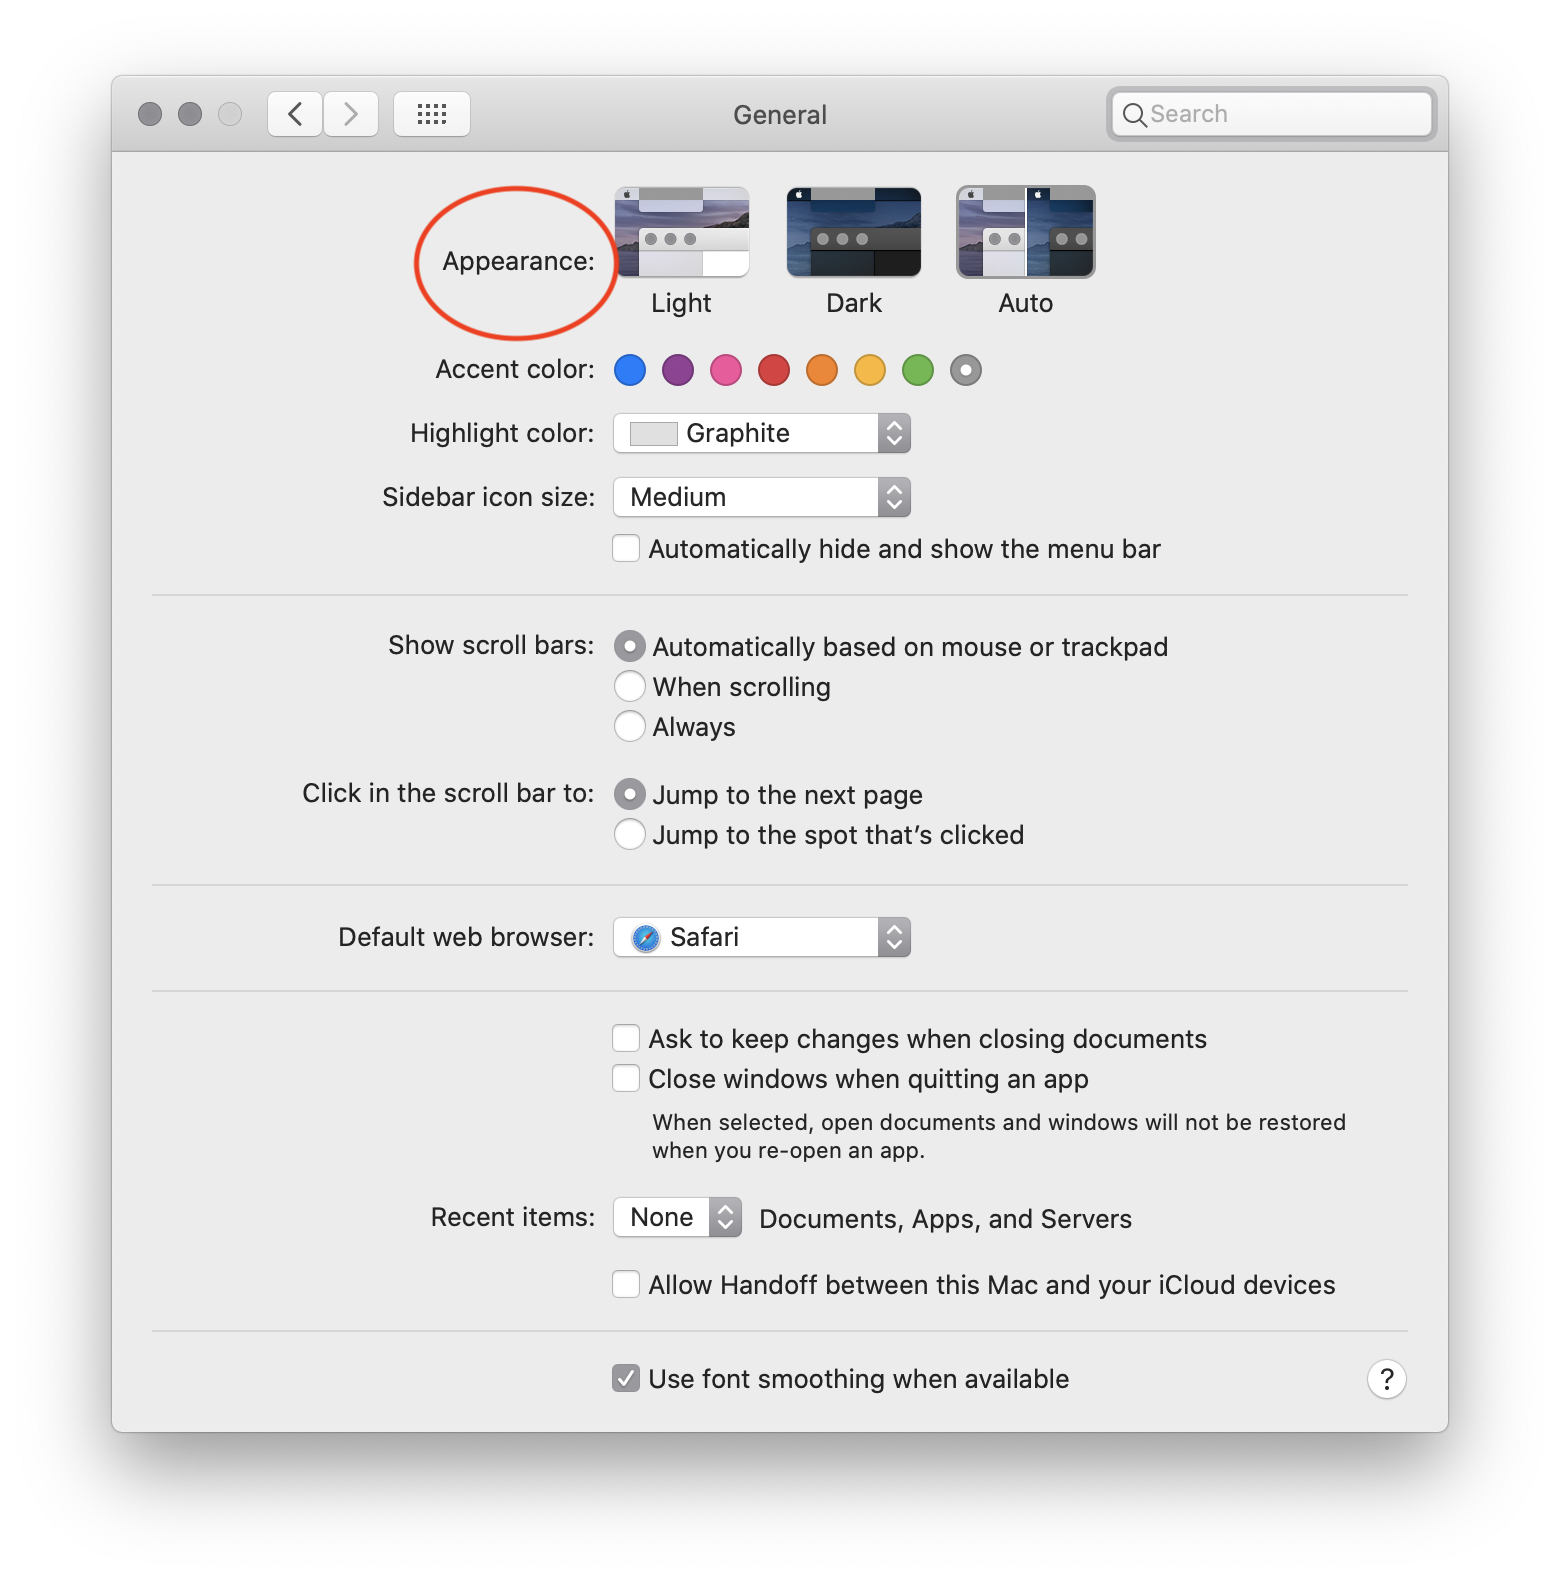
Whichever method you use, it is important to test in both modes to ensure a clean user interface and the best user experience. Use the General system preference pane to control not only Appearance, but also Accent and Highlight colors.
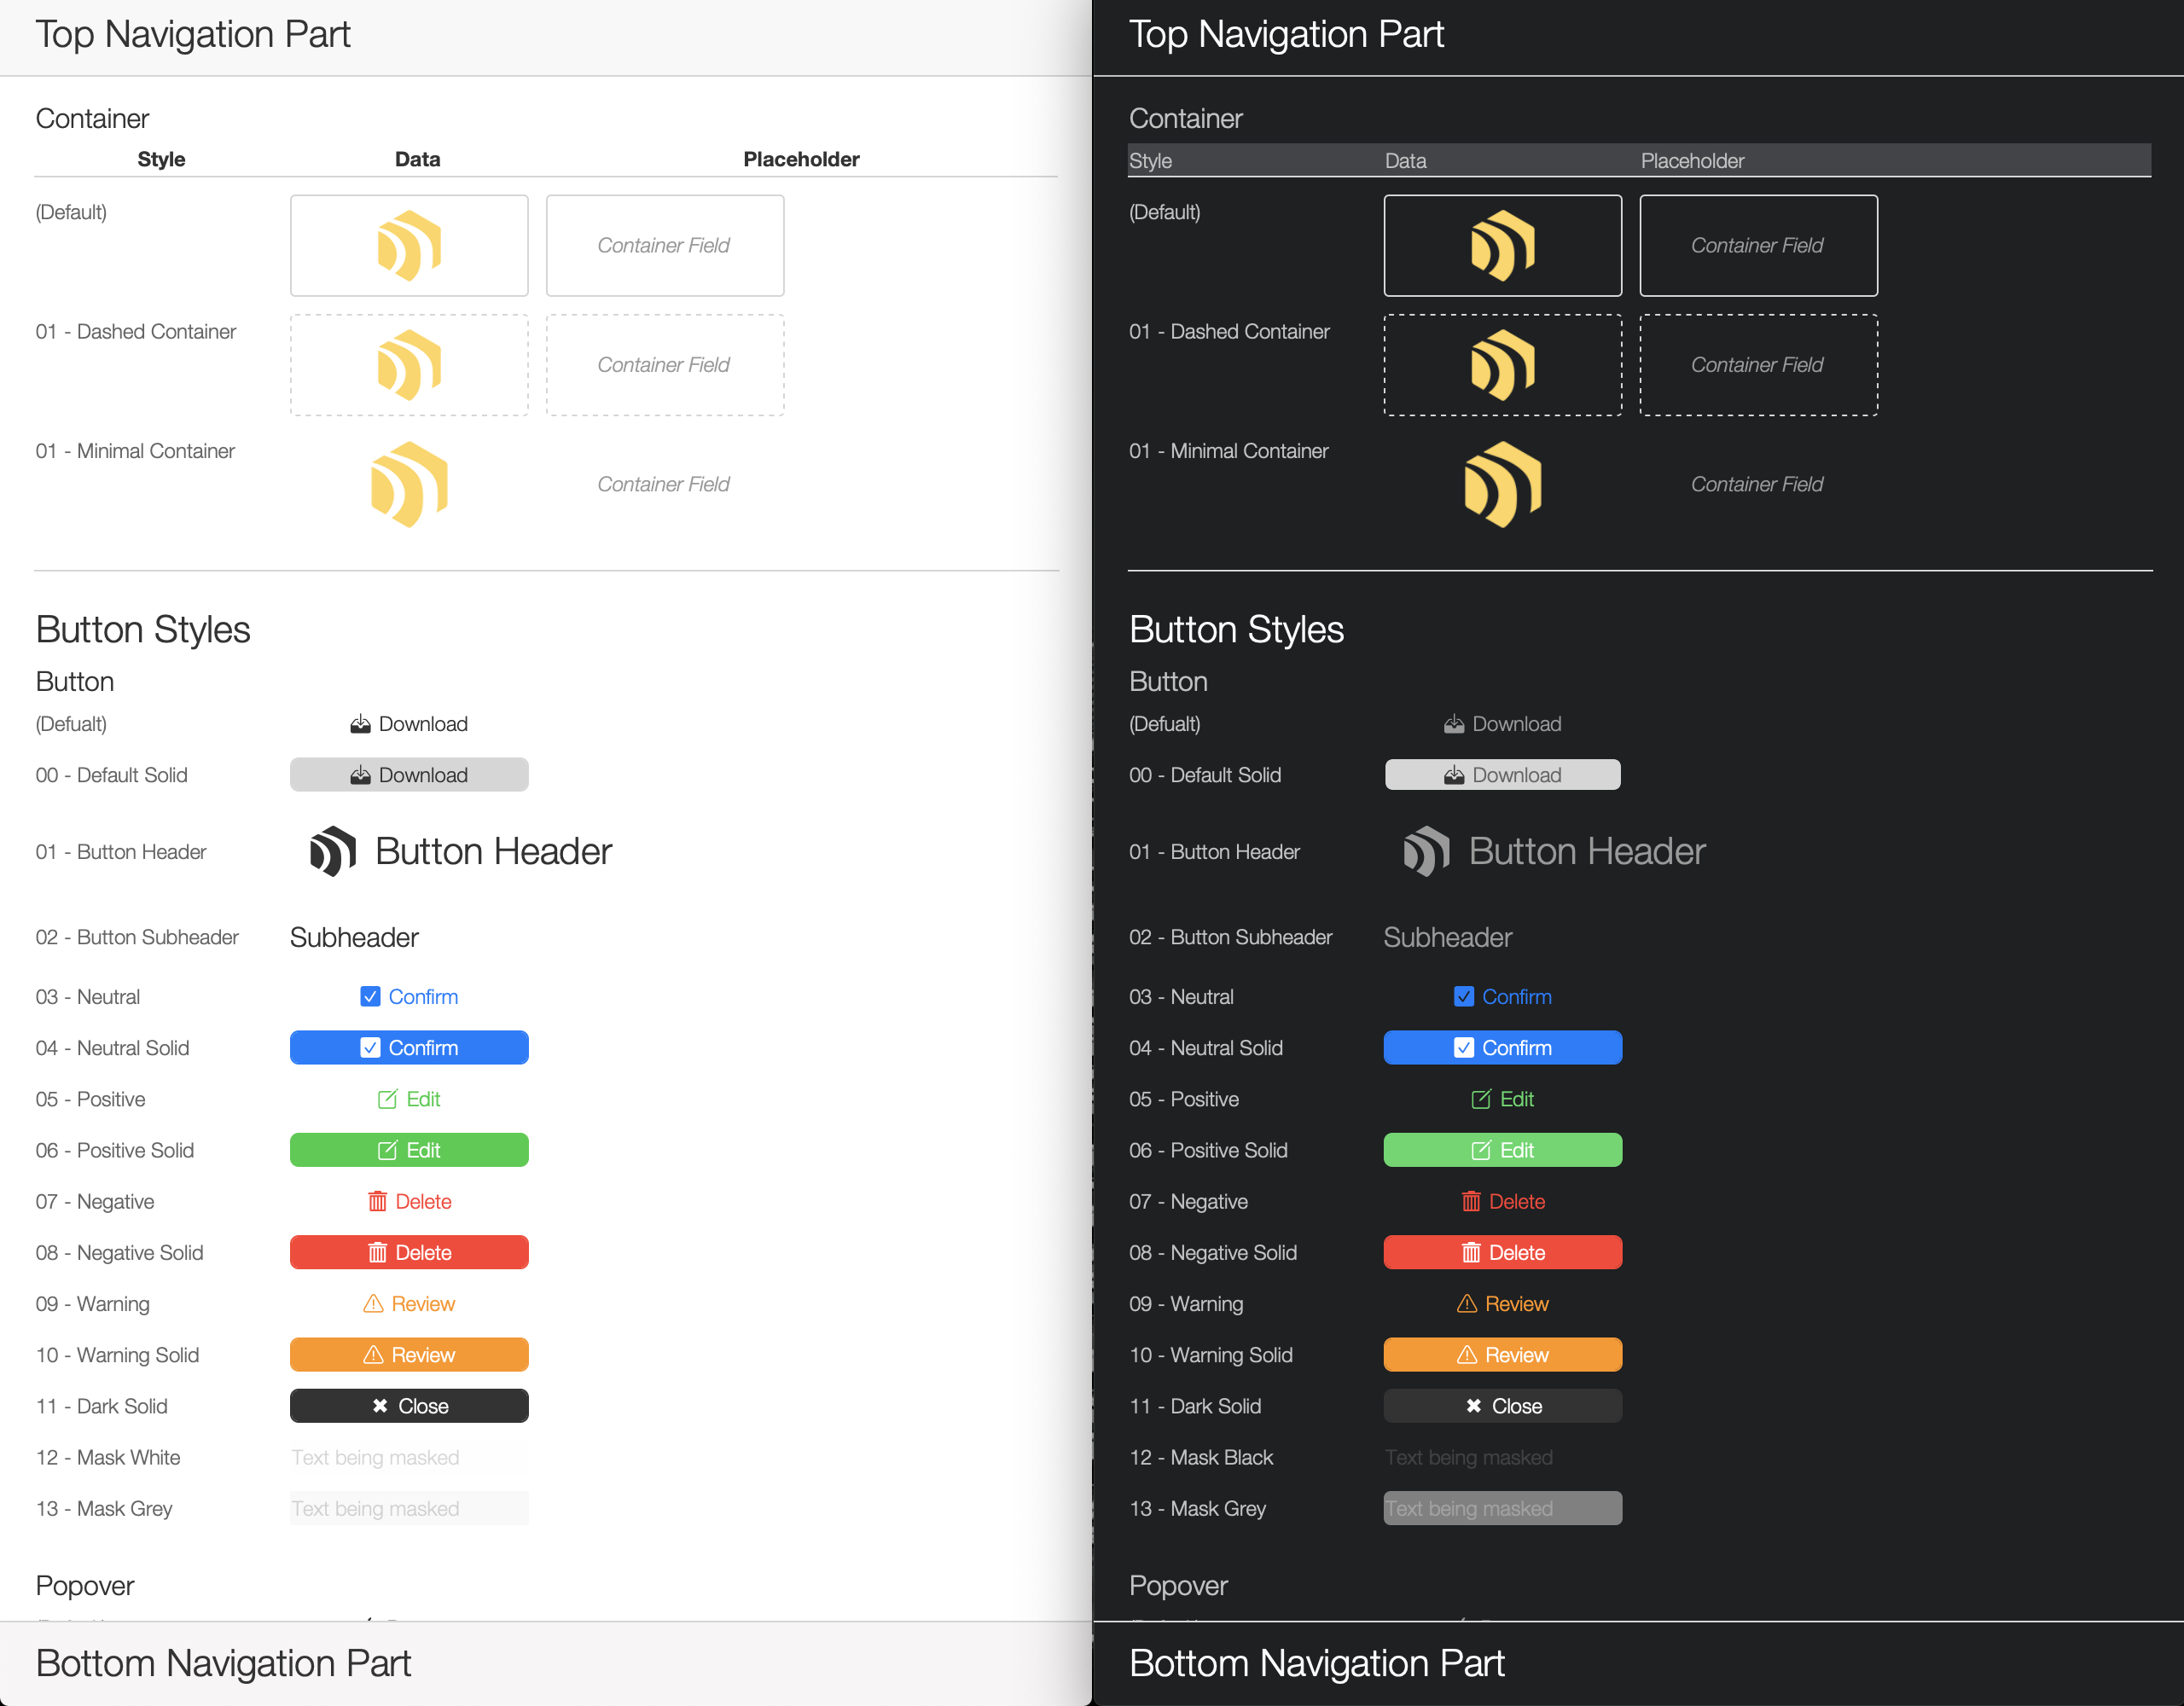
Finally, it is useful to have a developer layout with every possible layout object, which you can then easily style and theme for Light and Dark.
Dark Mode Demo File
Download the demo file, dig in, and go Dark!
About This Article
Christopher Edwards architected, developed, and documented the FileMaker solution demo, with great assistance from Mekuria Getinet as UX designer.